Scanned your SwiftLok pack? // You're in the right place

Cleco fastening,
step by step.

Follow the three steps, match your size, then get back to the job.

Through a drilled hole

Cleco fasteners

A row of clecos holding a sheet edge while SwiftLok pliers fit the next one
  1. Drill your holes

    Line up your panels and drill the pilot holes. Each cleco size has its own colour, so match the cleco to the hole (size guide below).

  2. Squeeze and insert

    Load a cleco into the pliers, squeeze and push it into the hole. Release and the spring holds the panels together.

  3. Work, then reuse

    Rivet, weld or bond with everything held in place. Take the clecos out with the pliers and use them again.

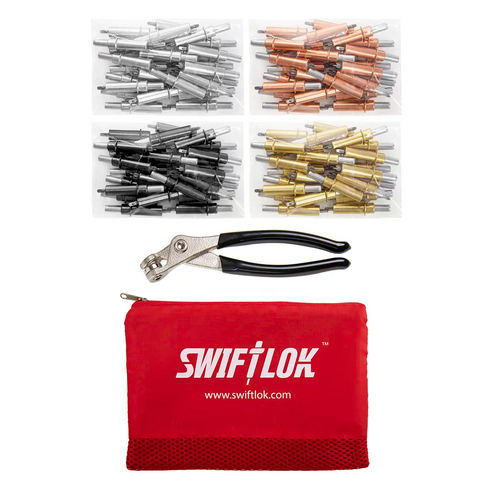
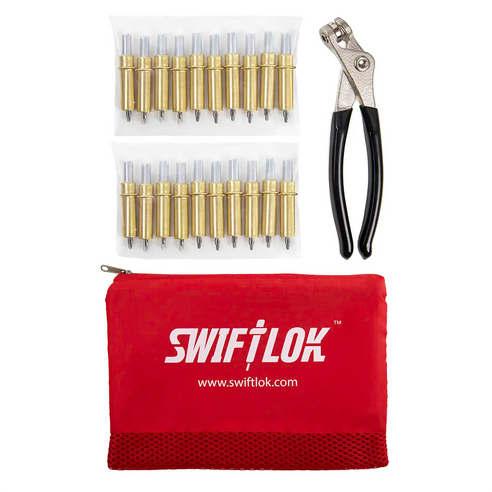
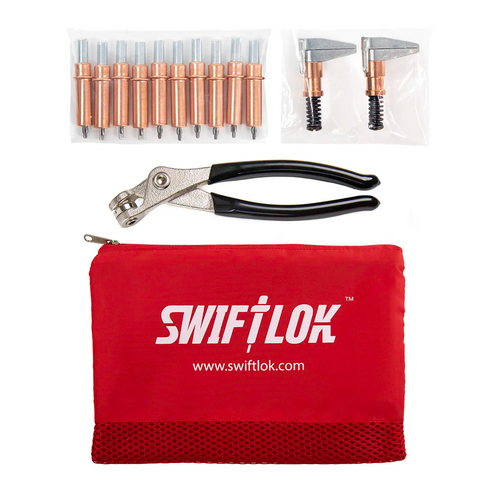
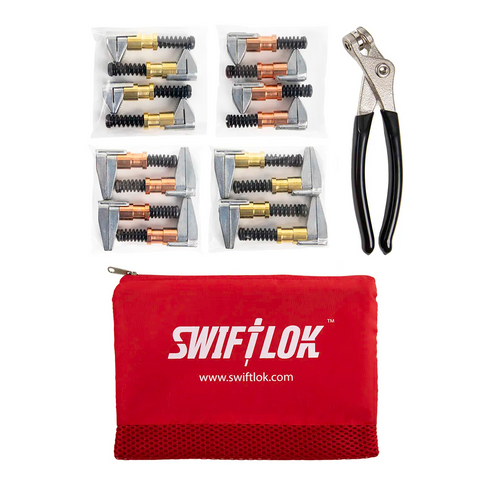
Using a kit? Same steps. Each kit's product page lists what's inside, and it all packs back into the carry bag.
From the edge, no drilling

Side grip clamps

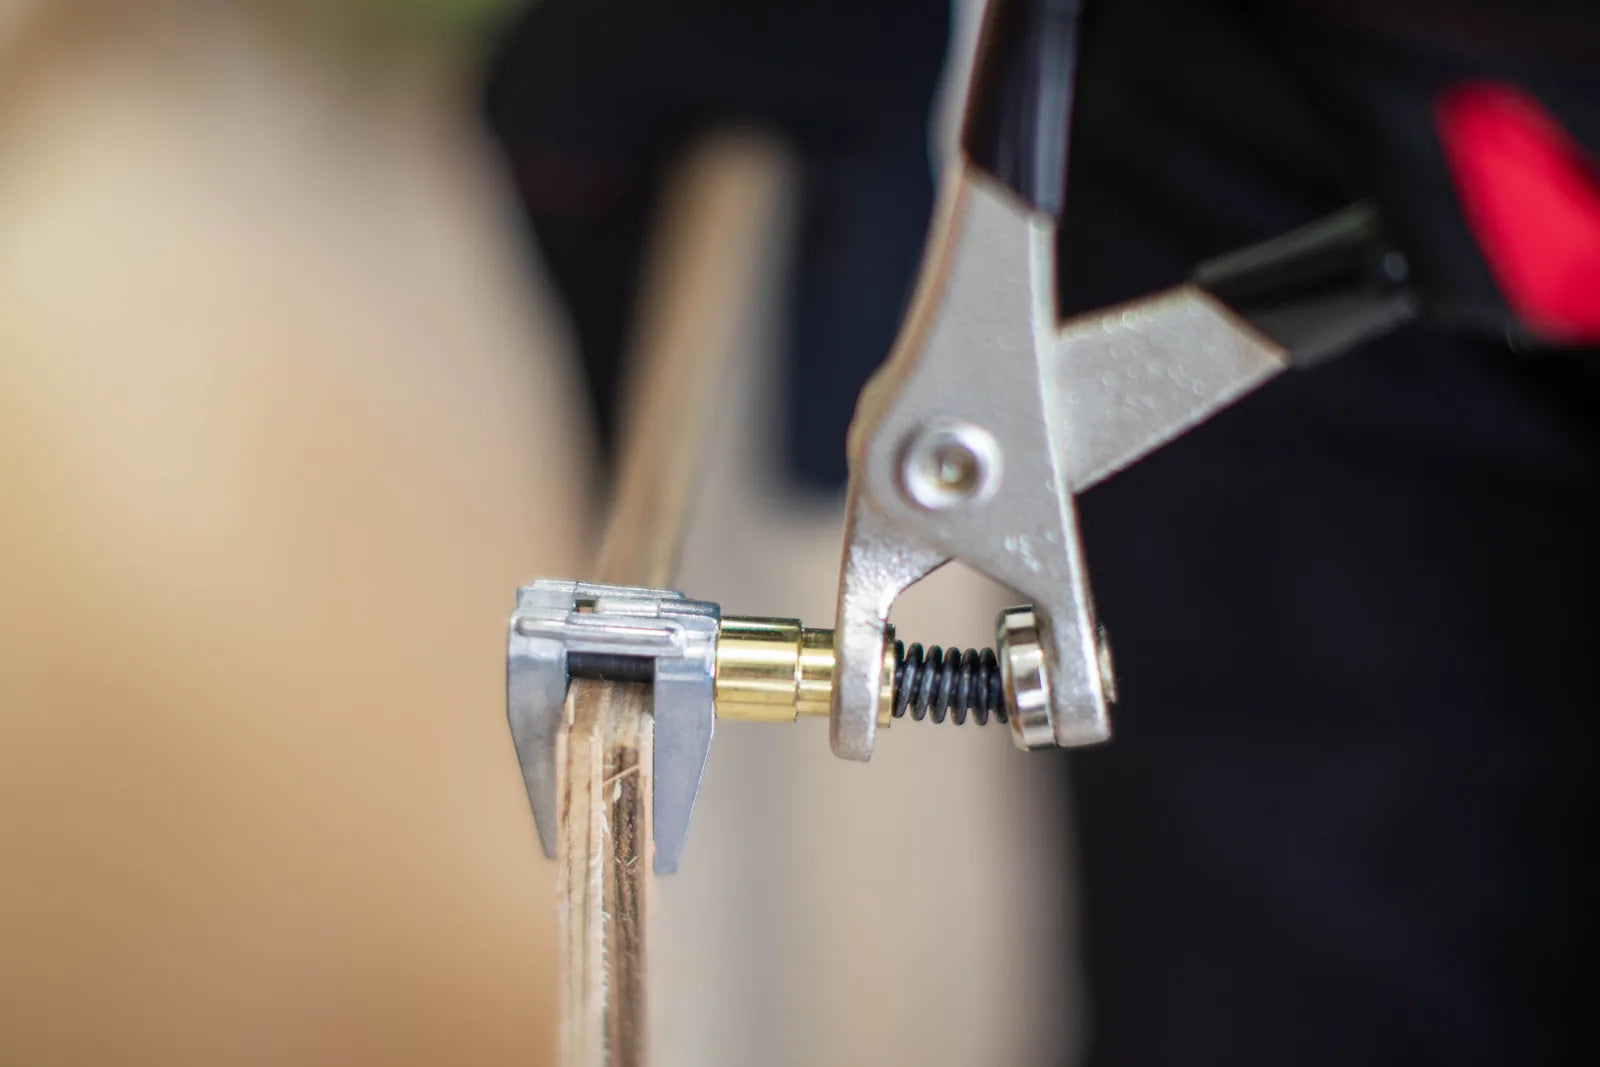
SwiftLok pliers fitting a side grip clamp over the edge of a board
  1. Align your panels

    Line the panels up flush along the edge. No drilling: side grip clamps hold from the edge.

  2. Squeeze and clip on

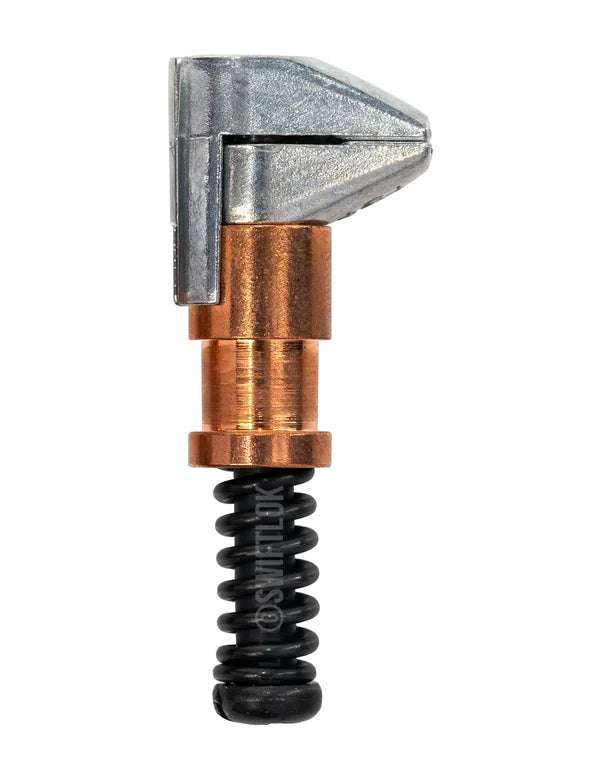
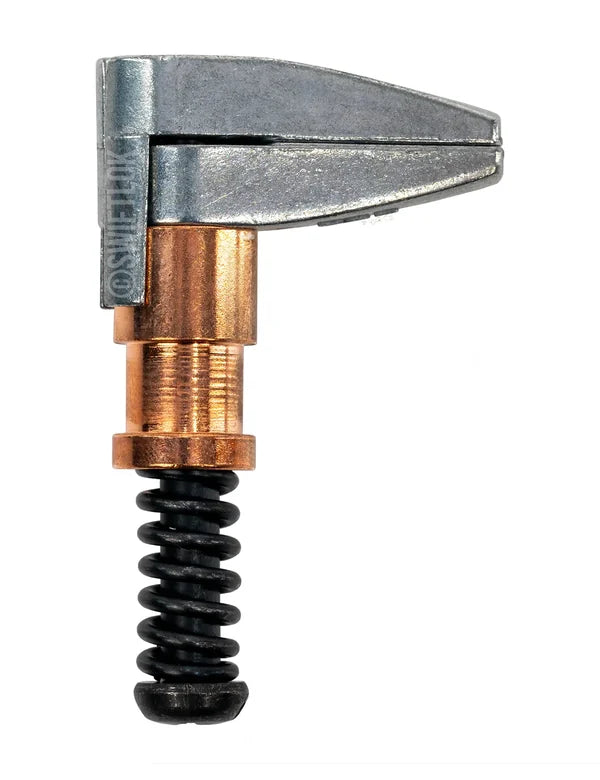
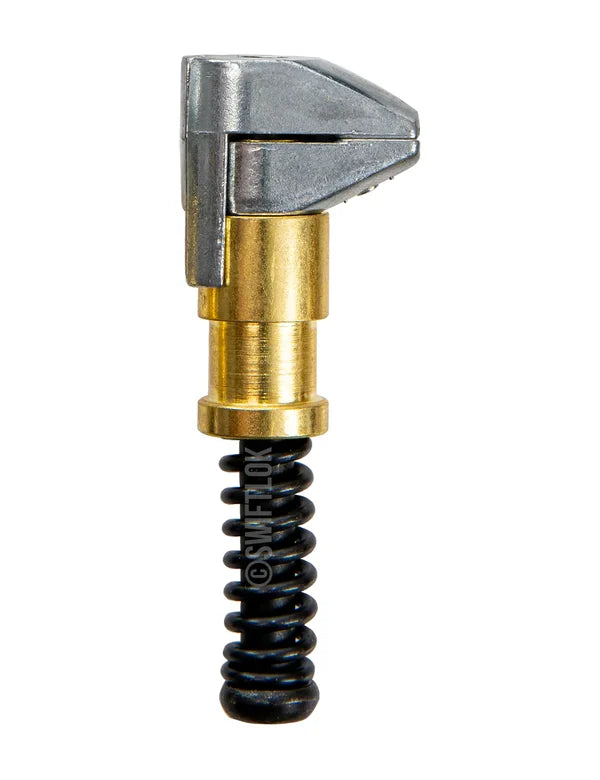
    Squeeze the pliers to open the clamp, seat the jaws over both edges and release. Copper clamps open to 1/2″ (12.7 mm), brass to 3/4″ (19.1 mm).

  3. Bond, then release

    The spring holds the panels while glue or sealant sets. Squeeze to release and use again.

Fits fasteners and clamps

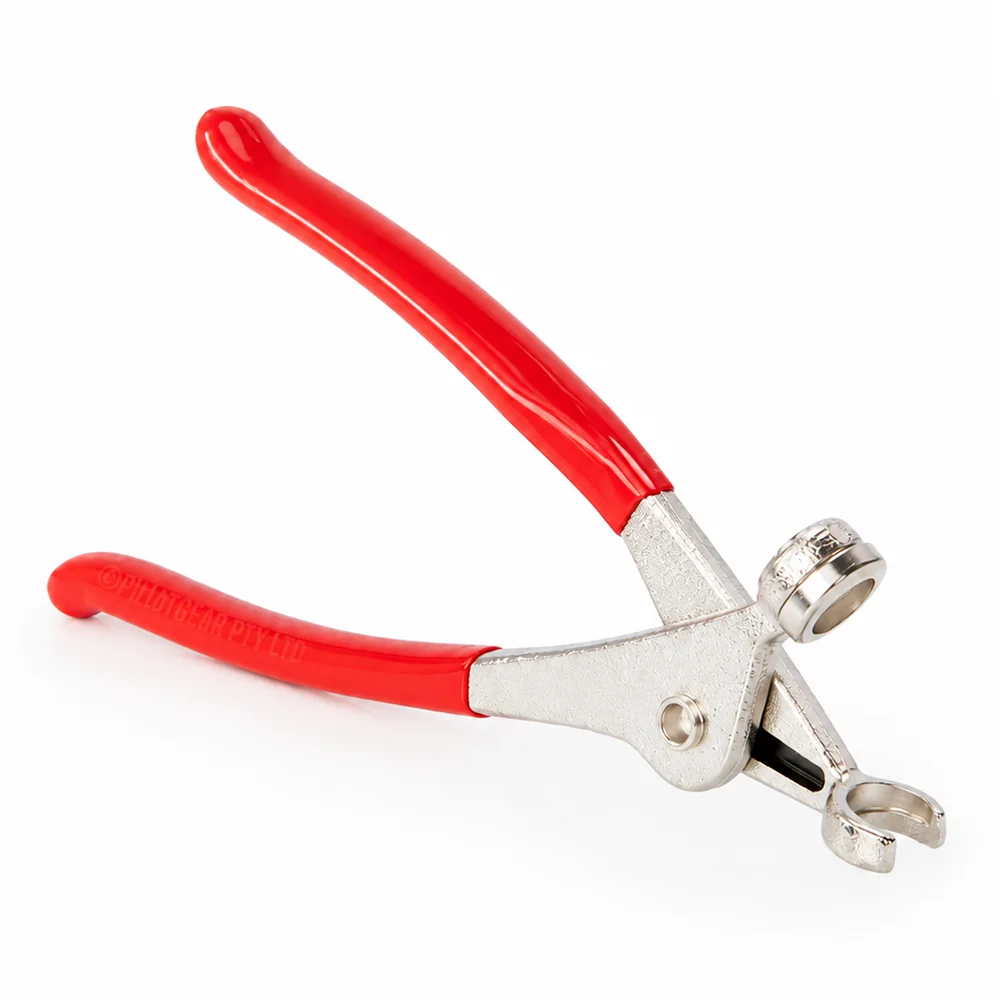
Cleco pliers

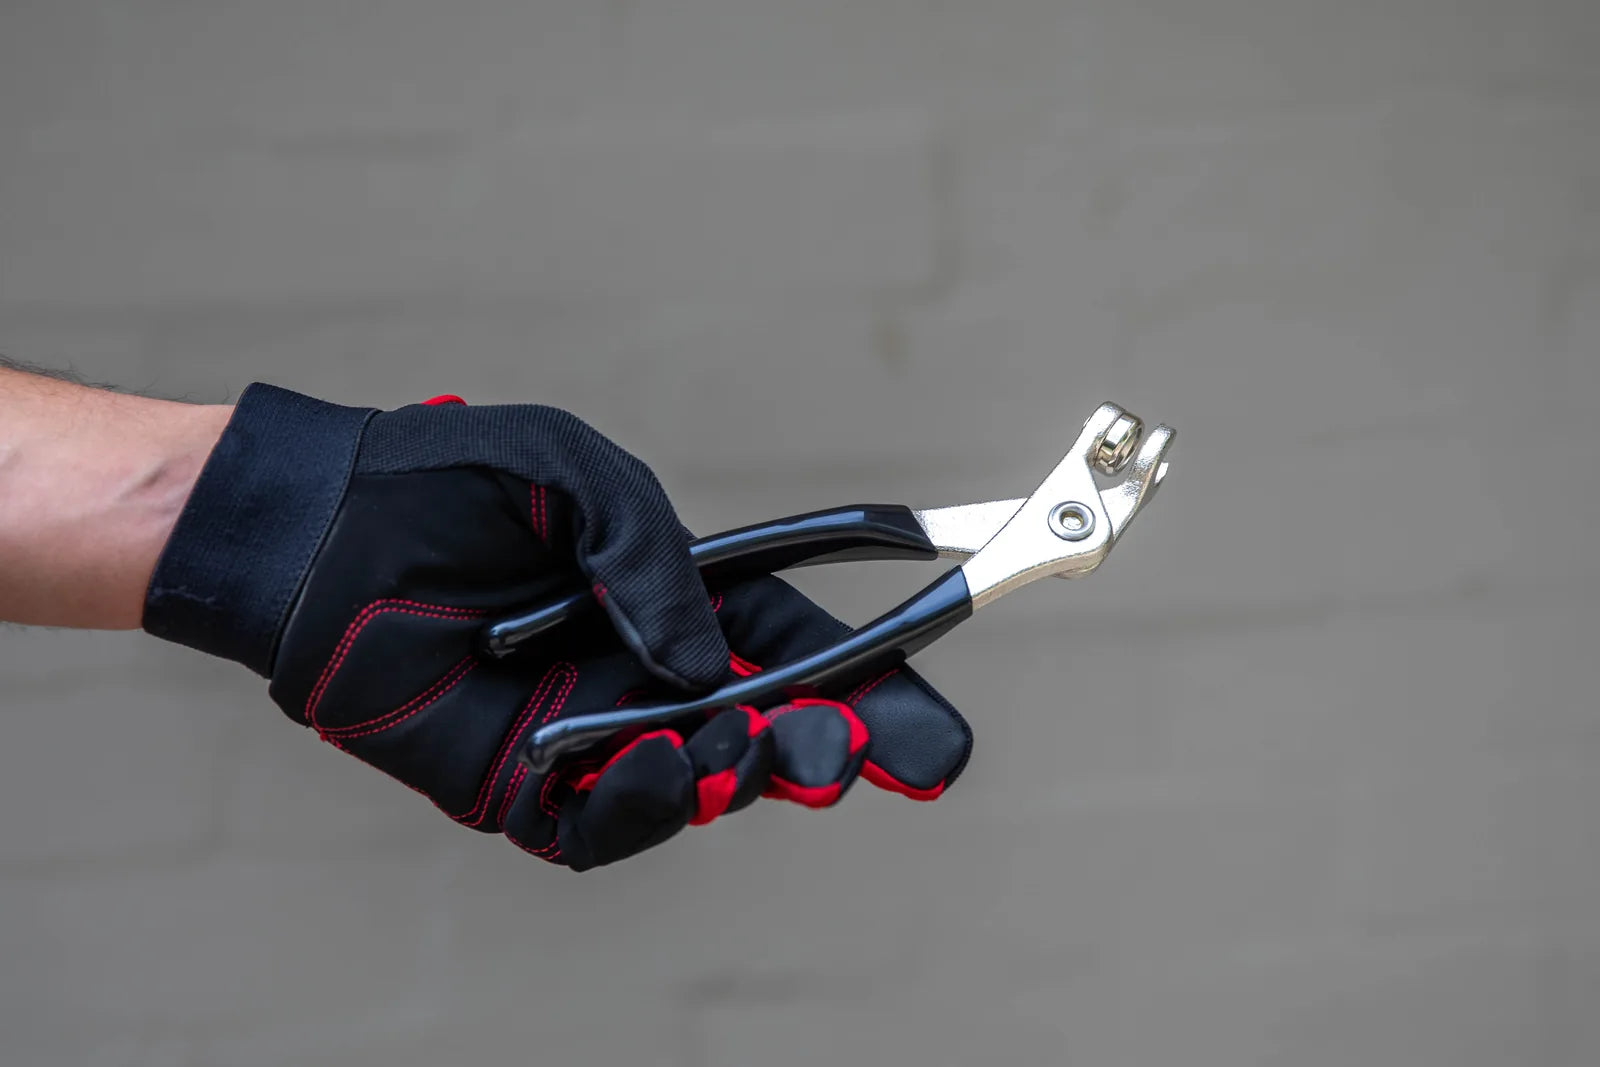
A gloved hand holding SwiftLok cleco pliers
  1. Load the pliers

    Fit a cleco into the jaws.

  2. Squeeze and insert

    Squeeze the handles, push the cleco into the pilot hole and release. The same pliers open side grip clamps.

  3. Remove and reuse

    Squeeze the cleco with the pliers and pull it free, ready for the next hole.

Size guide

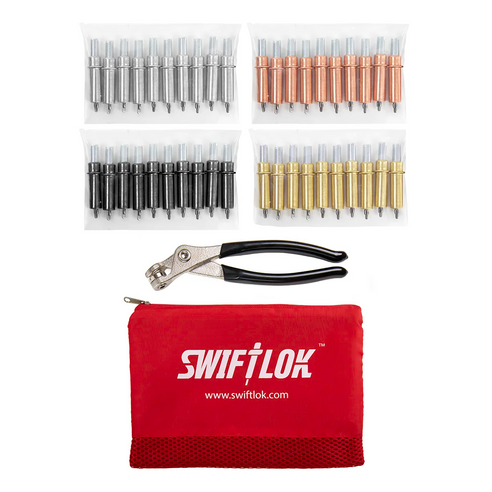
Match the colour to your drill bit

Cleco bodies are colour-coded by hole size, the same system used in aviation. Drill to suit, then grab the matching colour.

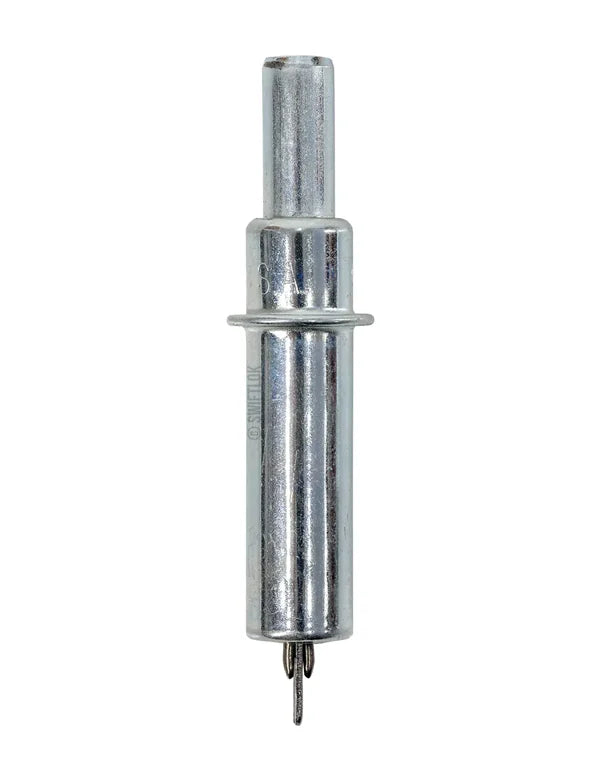
  • 3/32″ · Zinc
    3/32″ · Zinc2.4 mm holes#40 drill (2.5 mm)
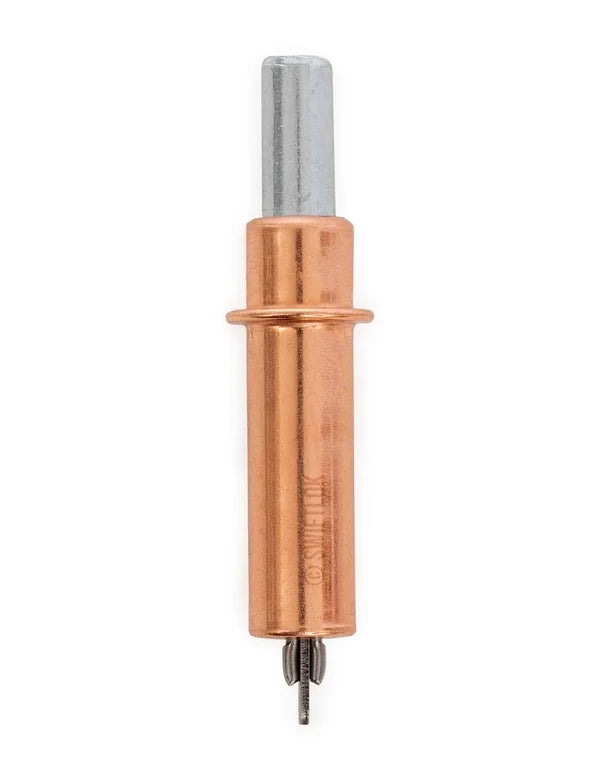
  • 1/8″ · Copper
    1/8″ · Copper3.2 mm holes#30 drill (3.3 mm)
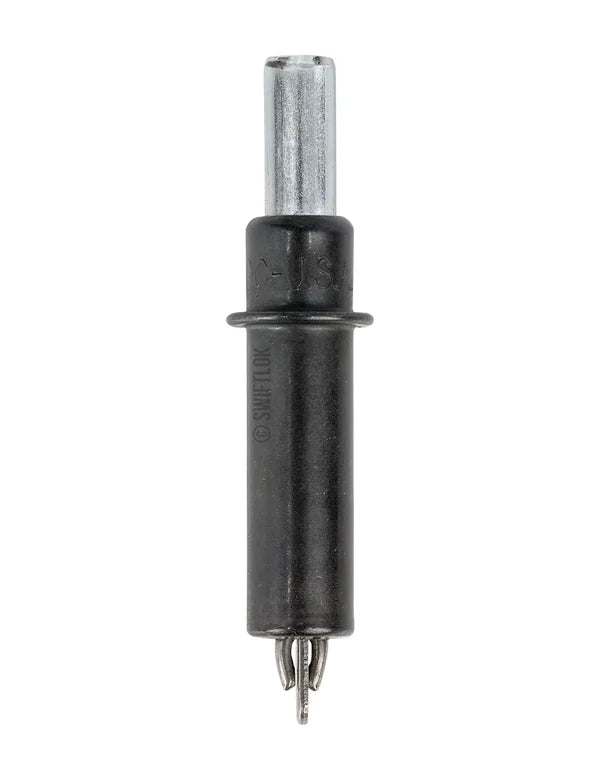
  • 5/32″ · Black
    5/32″ · Black4.0 mm holes#21 drill (4.1 mm)
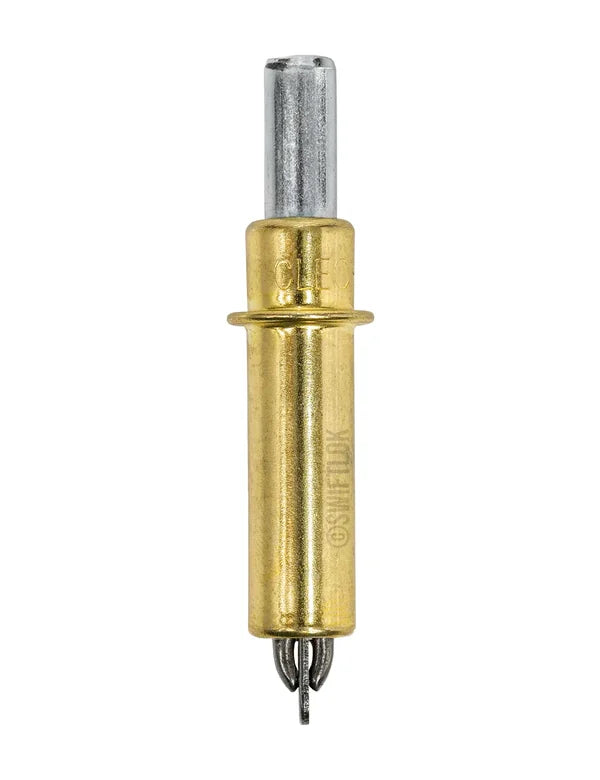
  • 3/16″ · Brass
    3/16″ · Brass4.8 mm holes#10 drill (4.9 mm)

Side grip clamps

Pick the opening and the jaw

Copper clamps open to 1/2″ (12.7 mm) and brass clamps to 3/4″ (19.1 mm). Each opening comes with a 1/2″ (12.7 mm) or 1″ (25.4 mm) jaw.

  • 1/2″ × 1/2″ · Copper
    1/2″ × 1/2″ · CopperOpens to 12.7 mm12.7 mm jaw
  • 1/2″ × 1″ · Copper
    1/2″ × 1″ · CopperOpens to 12.7 mm25.4 mm jaw
  • 3/4″ × 1/2″ · Brass
    3/4″ × 1/2″ · BrassOpens to 19.1 mm12.7 mm jaw
  • 3/4″ × 1″ · Brass
    3/4″ × 1″ · BrassOpens to 19.1 mm25.4 mm jaw

Pro tips

Get the tradie finish

  • Space them every 50–75 mm along the join. More clecos means less panel creep when you rivet or weld.
  • Work from the centre out on long panels. It pushes any mismatch to the edges, where you can trim it.
  • Blow the swarf out of the hole before inserting. Grit under the spring plunger shortens cleco life.

Safety

Spring-loaded tool: parts can release suddenly, so wear eye protection. Keep fingers clear of the jaws. Small parts: not a toy, keep away from children. Temporary fastener only. Do not use if damaged, bent or corroded.

Sorted? Keep building.

Grab spare sizes, side grip clamps or the full trade kit, shipped fast from Australian stock.

Shop SwiftLok online

Stuck on something? Contact us and we'll answer.